

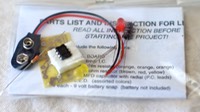


-Before starting, make sure that you have all of your parts and go over your BOM (Bill of Materials). If a part on your BOM is unchecked, you will most likely not have that part.
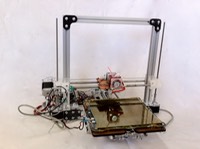
-Push blue tape on the sliders by taking off the adhesive protecting cover and sticking the part of the slider that is sticking out onto the adhesive. Then, shove the slider into the rail, smoothing out the tape. Fold excess tape. These parts are in the X-Ends Kit.
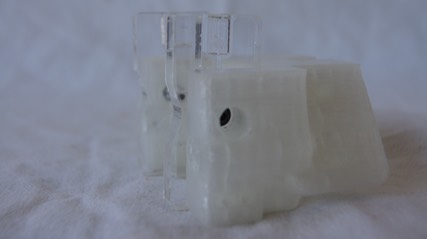
-Put the 3d printed guide and acrylic guide together and screw on like that (Frame Brackets Kit). See picture below.
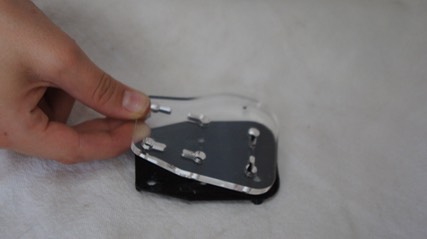
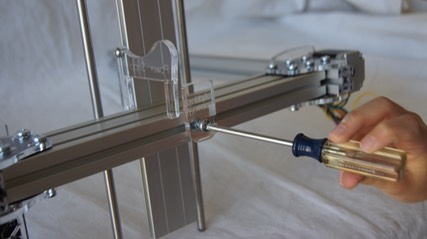
-Also for frame brackets, line up the keyhole shapes. Those are intentionally made for when a nut inside the rail isn't catching, you can stick a small screwdriver or a bent paper clip in through there to stop it from spinning.
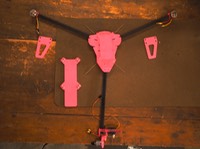
-The power supply tab, part of the Frame Brackets Kit, is meant to go underneath the power box. It would be screwed on like so:
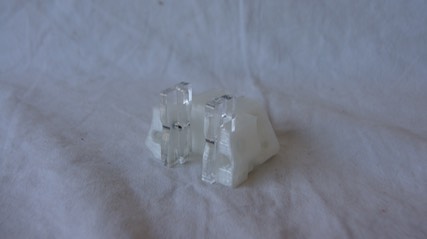
-Before hooking the X-Ends Delrin Z-nut to the rest of the rail platform, spin them up the rail, as shown in the picture below.

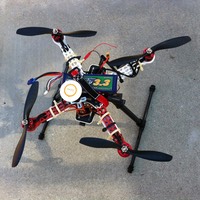
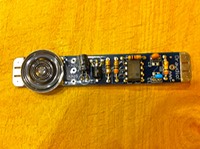
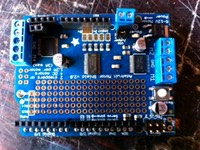
-Put the Azteeg board on last, so no damage occurs, for the board is the brain of the printer.
-Configure the X-Ends as shown in the pictures below. Note that in the pictures, the blue tape is not on, even though it should be.